FITTING WALL
CLADDING
MYSELF
FOR HIGH STANDARD OF HYGIENE
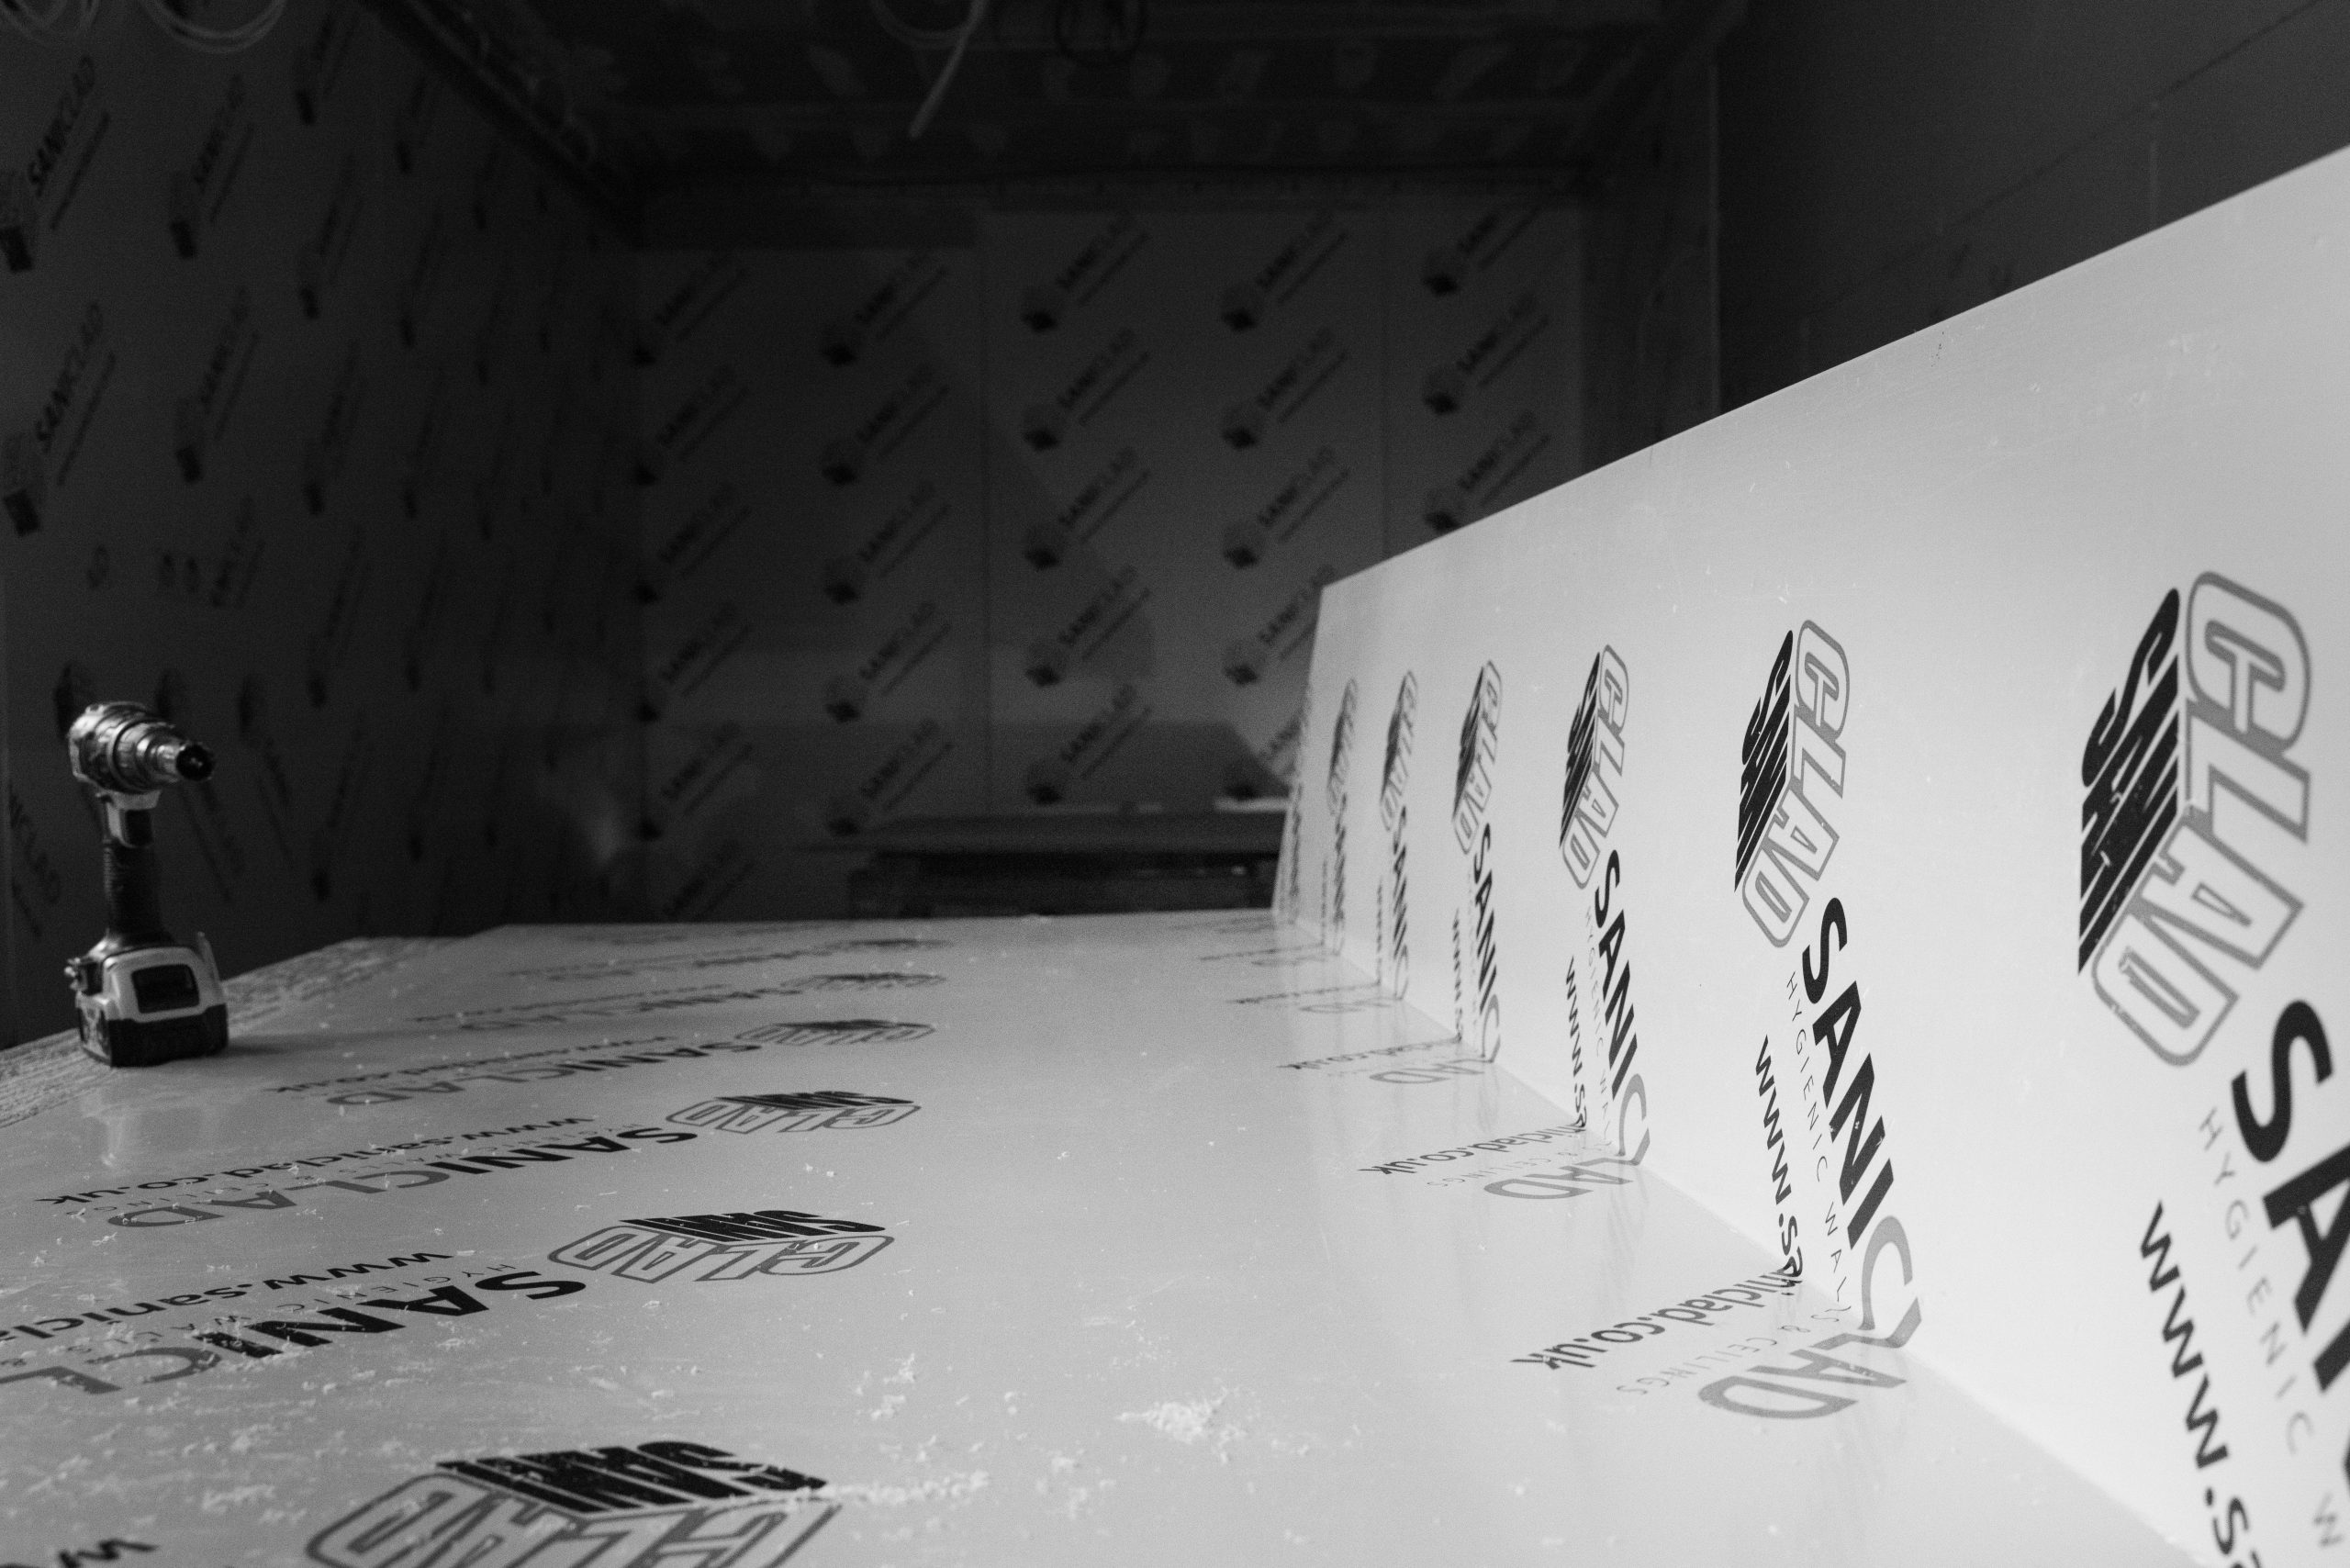
Saniclad offer either a full fitting and installation service or we can supply the panels for DIY hygienic wall cladding UK, fitting wall cladding yourself. If you choose to fit this yourself, please see the guidance below.
Our friendly customer service team are always on hand to help.
FITTING WALL
CLADDING
MYSELF
FITTING WALL
CLADDING
MYSELF
FOR HIGH STANDARD OF HYGIENE
Saniclad offer either a full fitting and installation service or we can supply the panels for you to fit the wall cladding yourself. If you choose to fit this yourself, please see the guidance below.
Our friendly customer service team are always on hand to help.
THE 8 STEP EXPERT GUIDE TO DIY INSTALLATION OF HYGIENIC WALL CLADDING
Step 1
WALL
PREPARATION
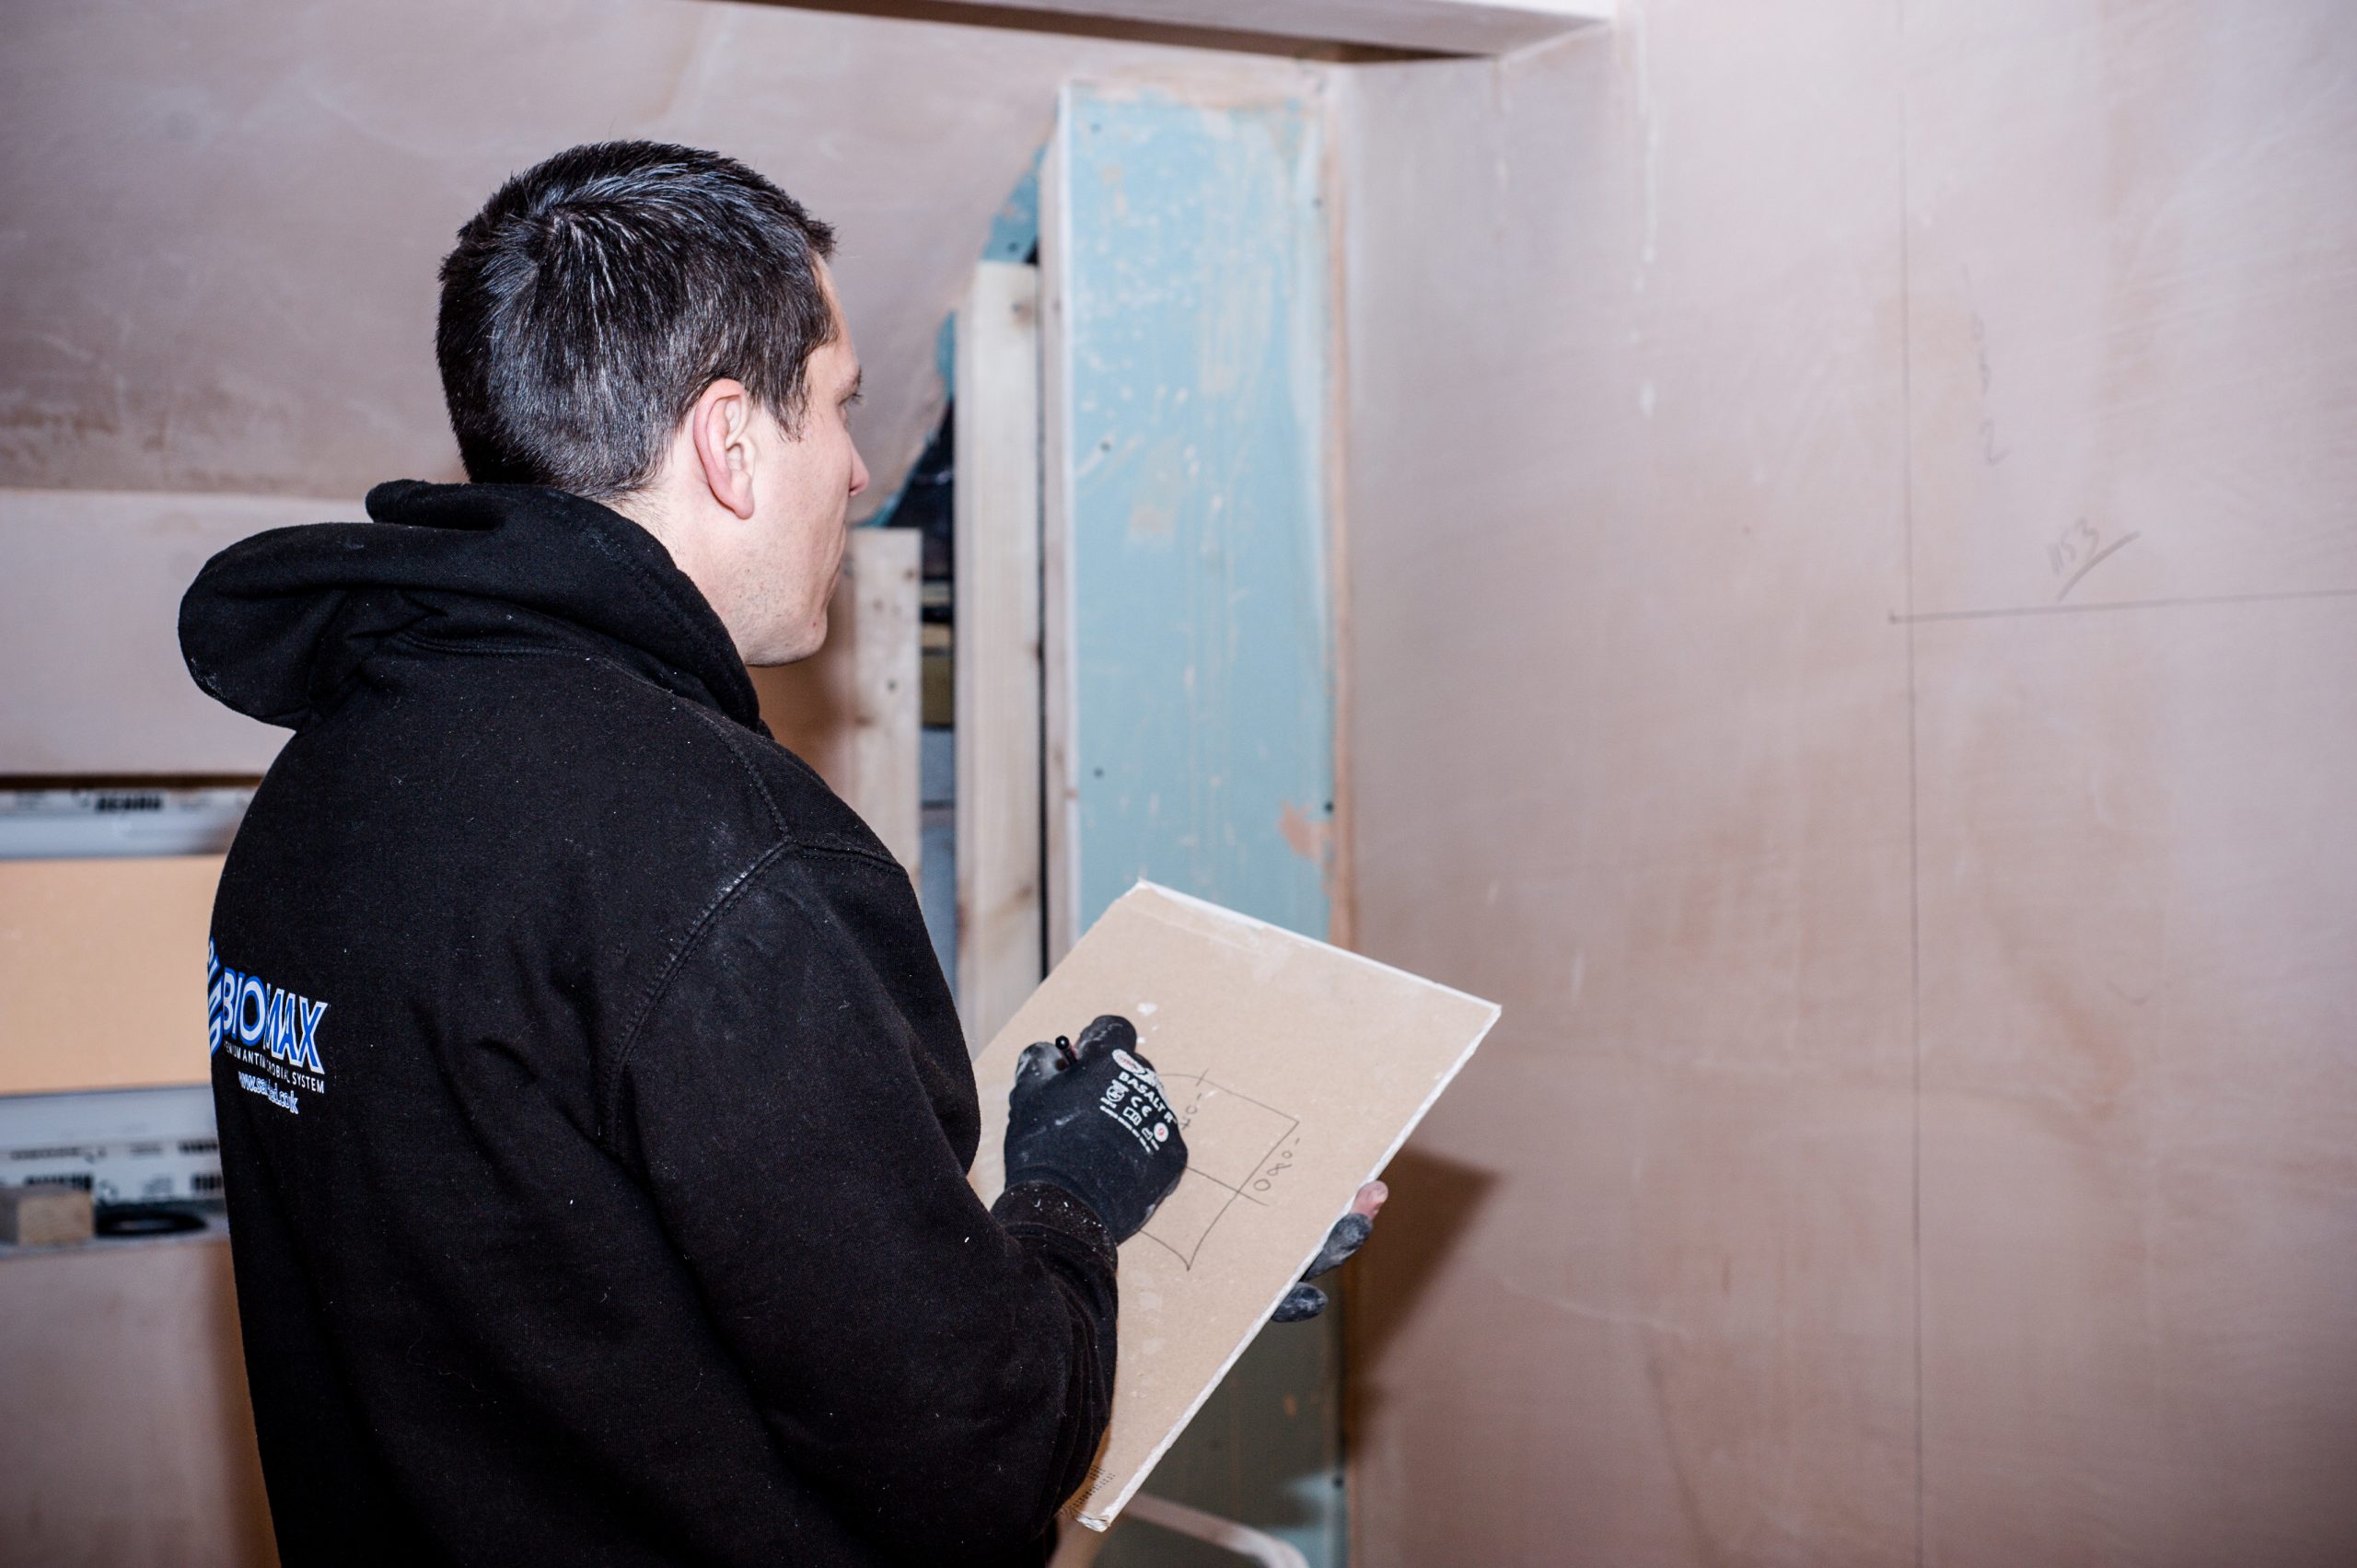
Before fitting wall cladding ensure the wall substrate is dry and free from any dirt, dust and grease. Walls should be flat and even so flatten high spots and fill in low spots.
Remove wallpaper, soluble or loose paint and other foreign matter so you can achieve a good adhesive bond.
Step 2
CONCRETE
BLOCK & BRICK
Level uneven surfaces with plaster or concrete compounds. Use adhesive, however be advised adhesive cannot be expected to adhere 100%.
Step 3
SPECIAL WALL
CONDITIONS AND HIGH
HUMIDITY ROOMS
Be sure concrete walls are well cured and completely dry. If concrete or brick walls are below grade or where moisture can penetrate and interfere with a good adhesive bond, use furring strips and install with mechanical fasteners.
Step 4
PAINTED
SURFACES
All loose paint must be removed before applying the adhesive. Adhesive will bond only to the paint, so make sure that paint is well adhered to wall.
It may be necessary to use fasteners as well as adhesive to provide adequate bond strength.
Step 5
UNEVEN
SURFACES
PVC Wall Panelling Installation over uneven surfaces will result in less than 100% adhesion to the wall substrate, therefore creating the potential for air pockets to form behind the panels.
This will not compromise the Sani Clad wall panelling as long as the recommended spacing and sealing procedures have been followed.
Step 6
HIGH/LOW
TEMPERATURE
CONDITIONS
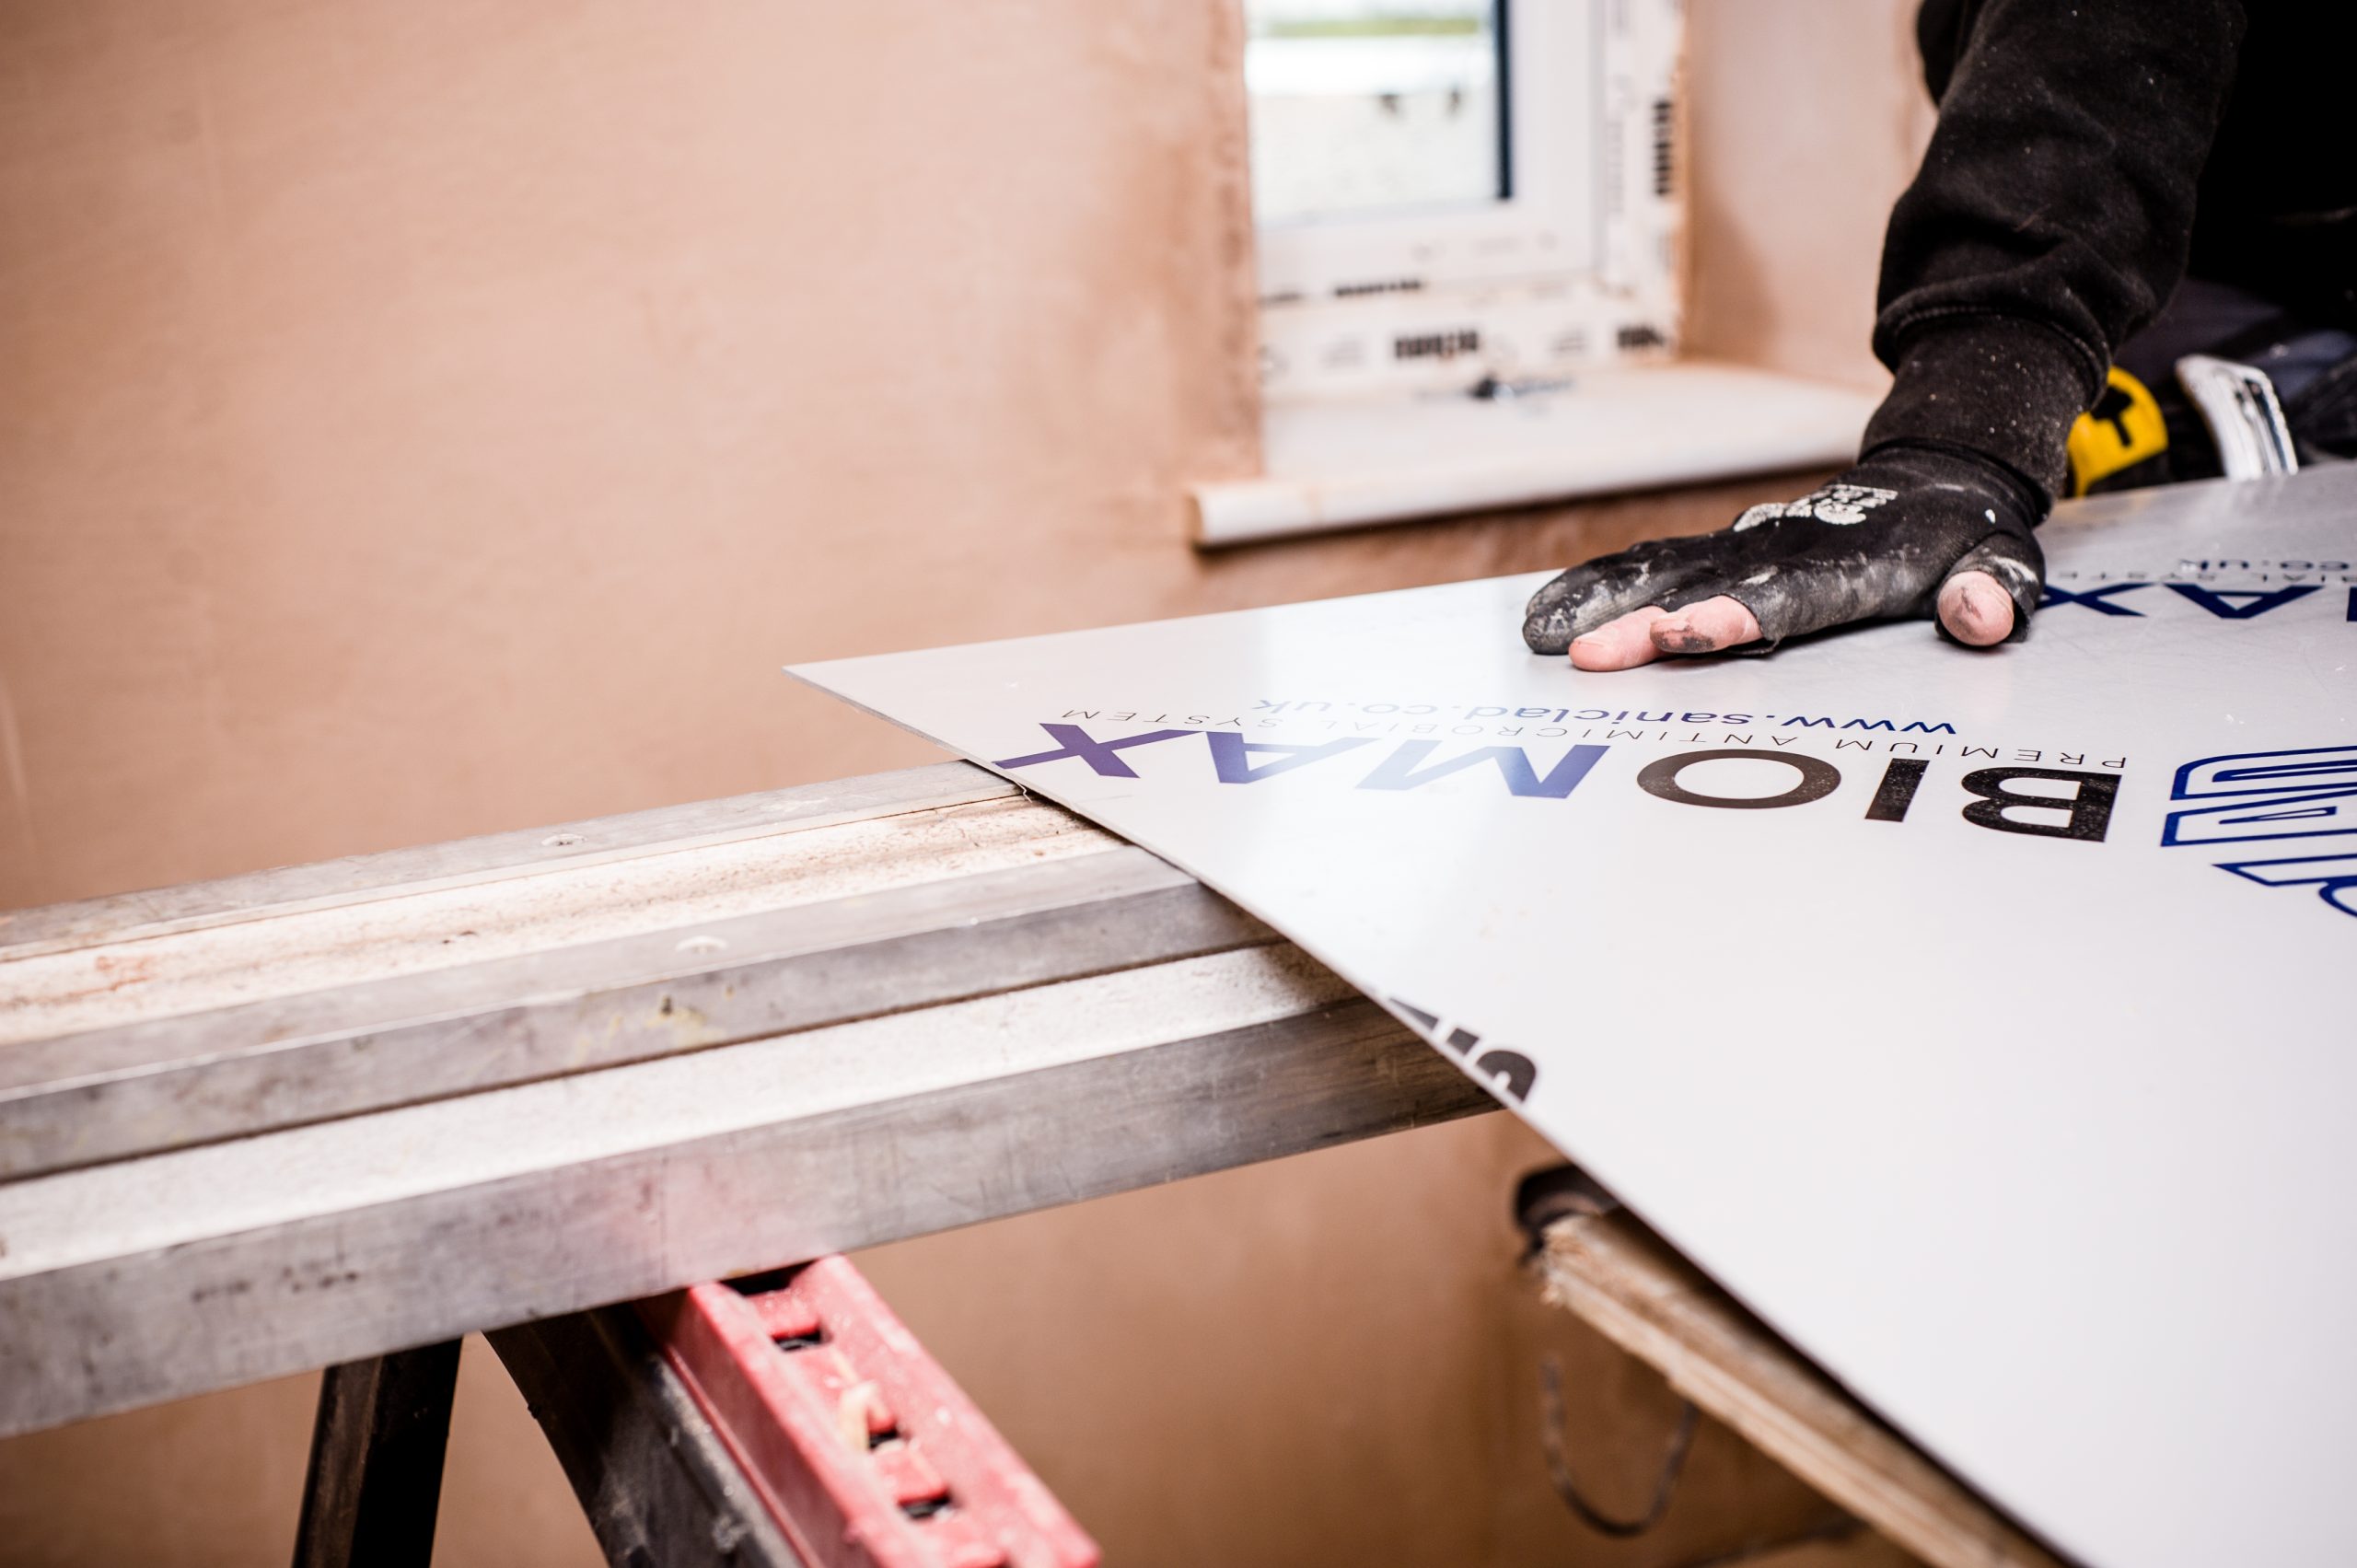
Follow guidelines for expansion/contraction allowance carefully also making sure adhesive is recommended for use under these conditions. Carefully follow adhesive manufacturers Installation recommendations.
Step 7
APPLYING
ADHESIVE
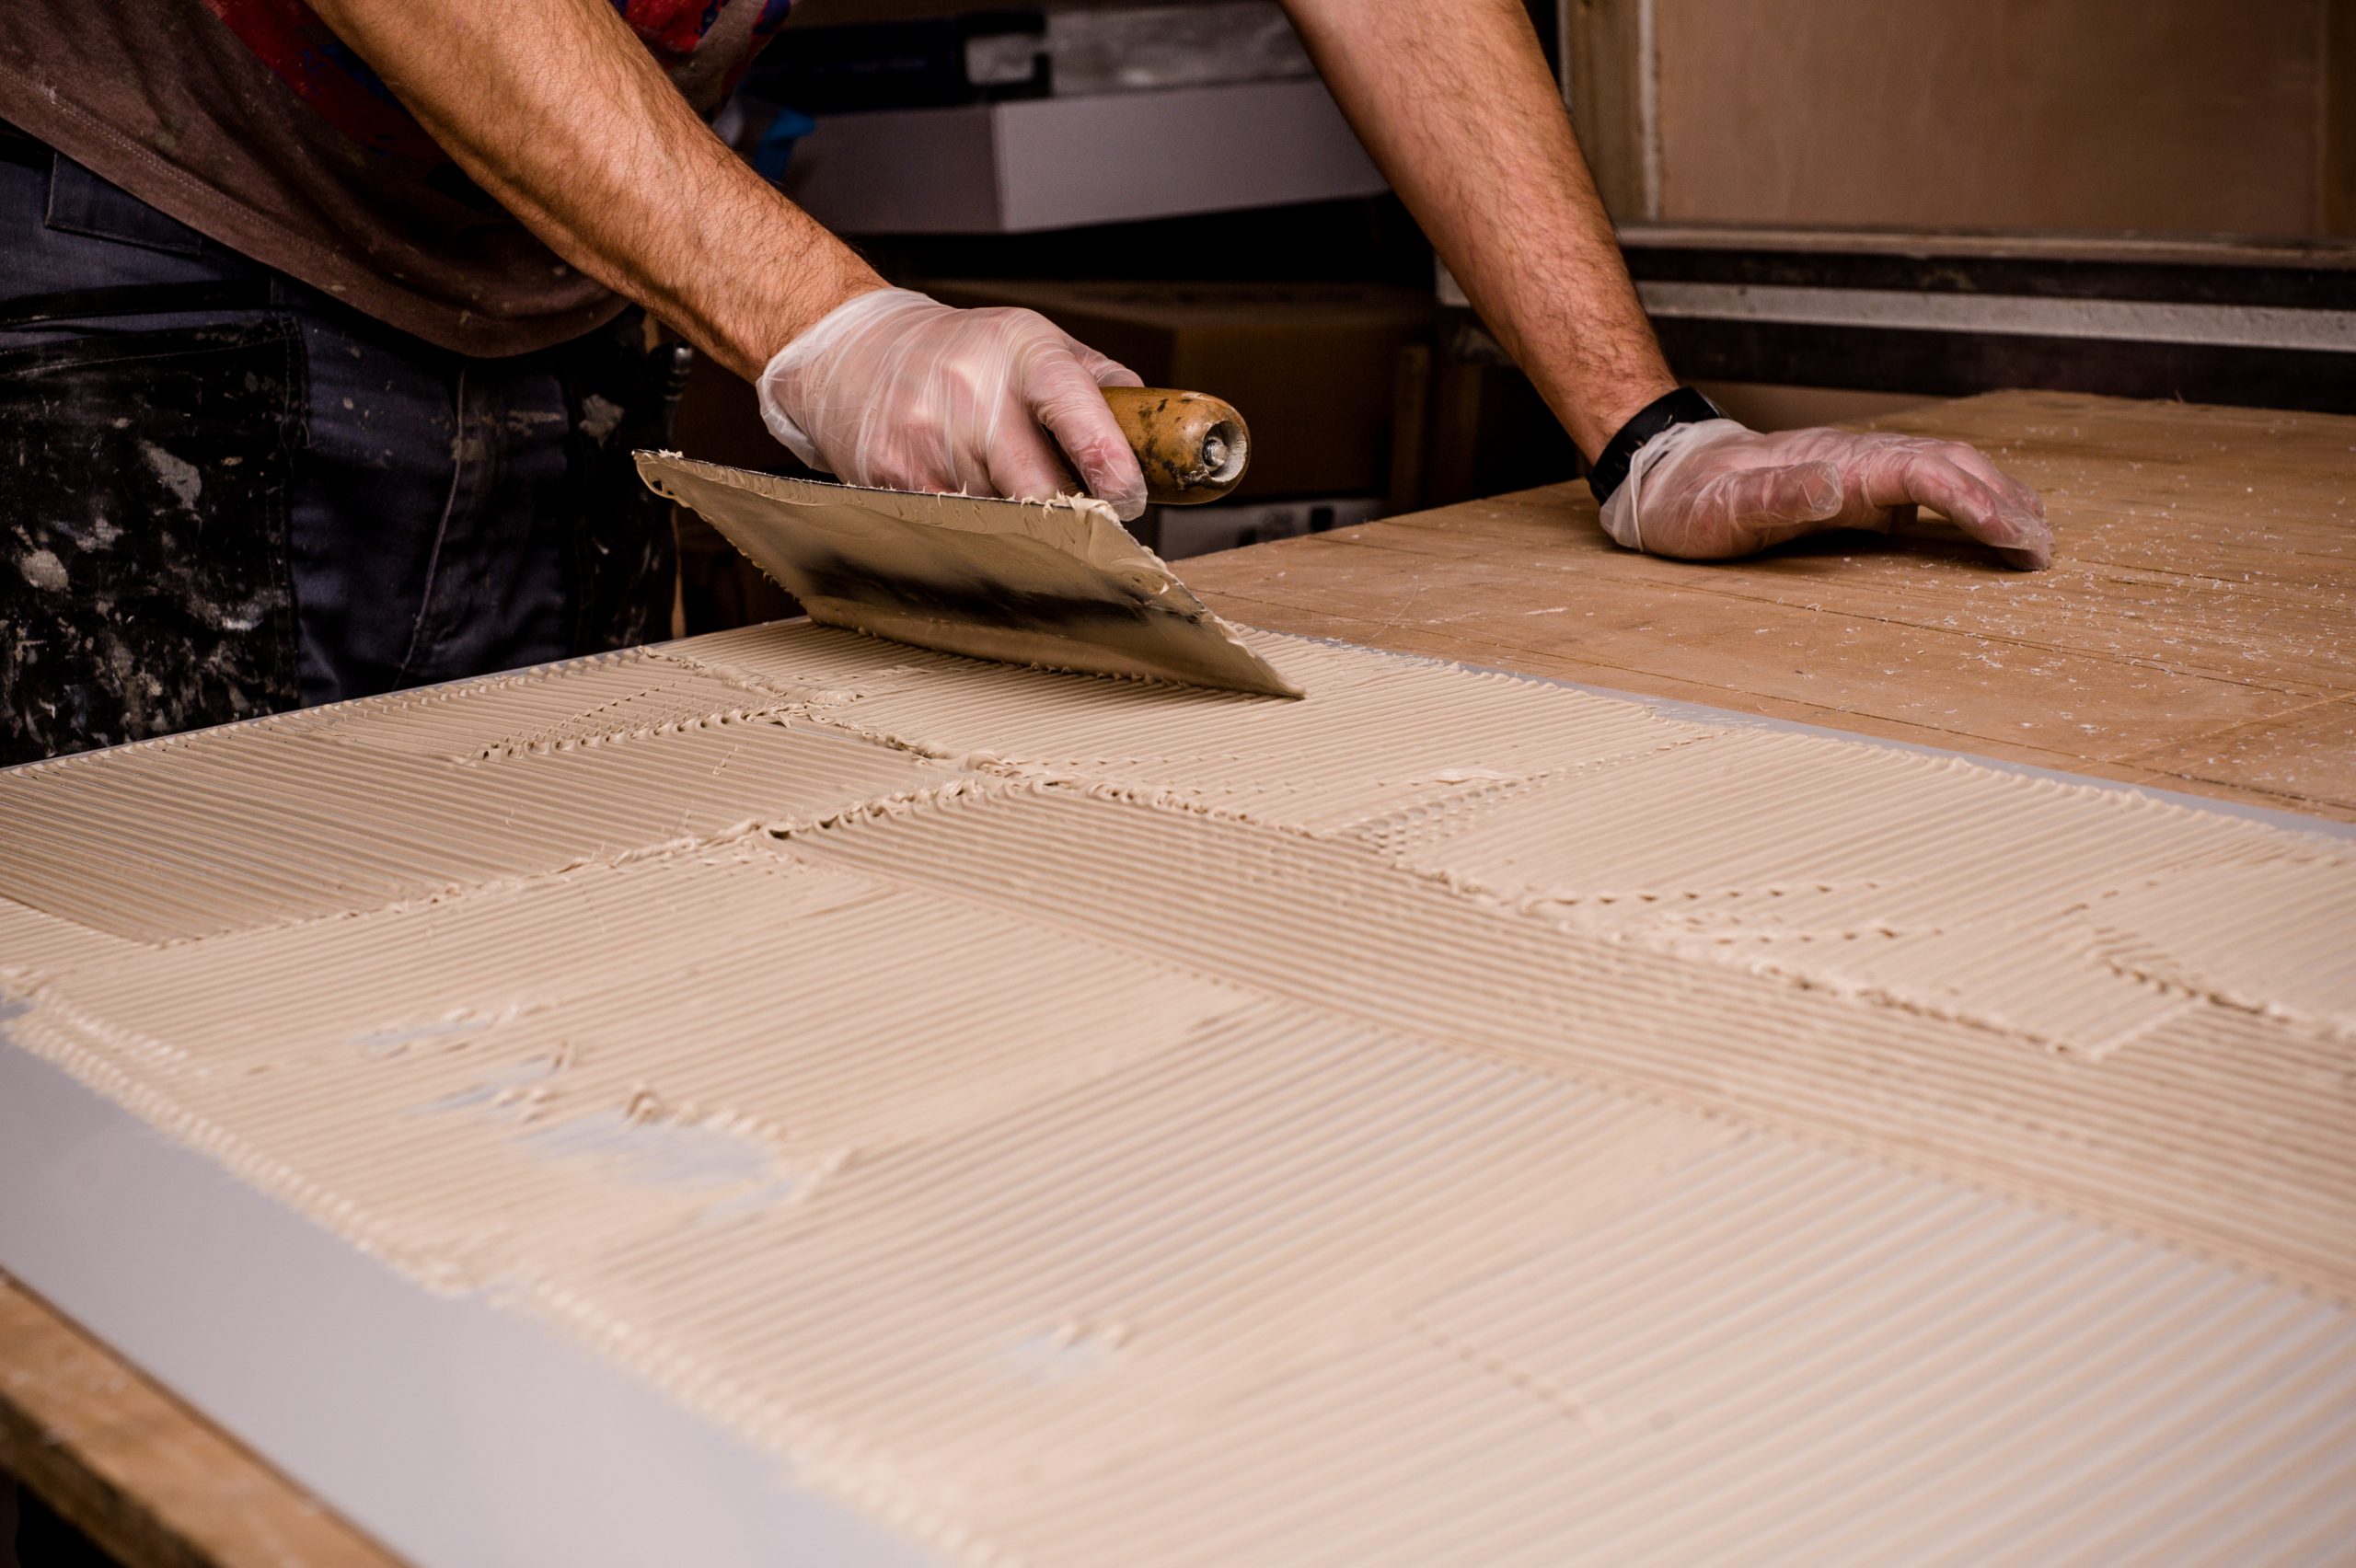
Follow all the adhesive manufacturer’s recommendations for appropriate height of adhesive bead left by trowel as the biggest problem encountered with adhesives installations is too much or too little adhesive. Make sure adhesive extends to all edges of the panel so the maximum bonding surface area is achieved.
Step 8
FITTING WALL
PANELS
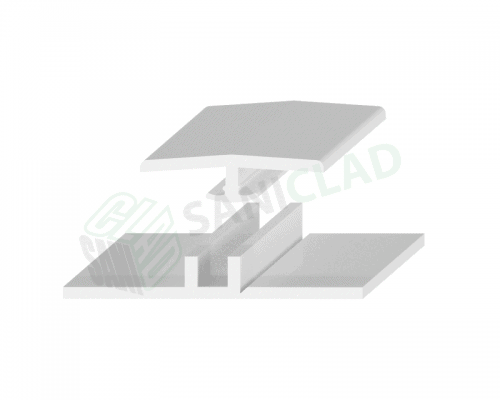
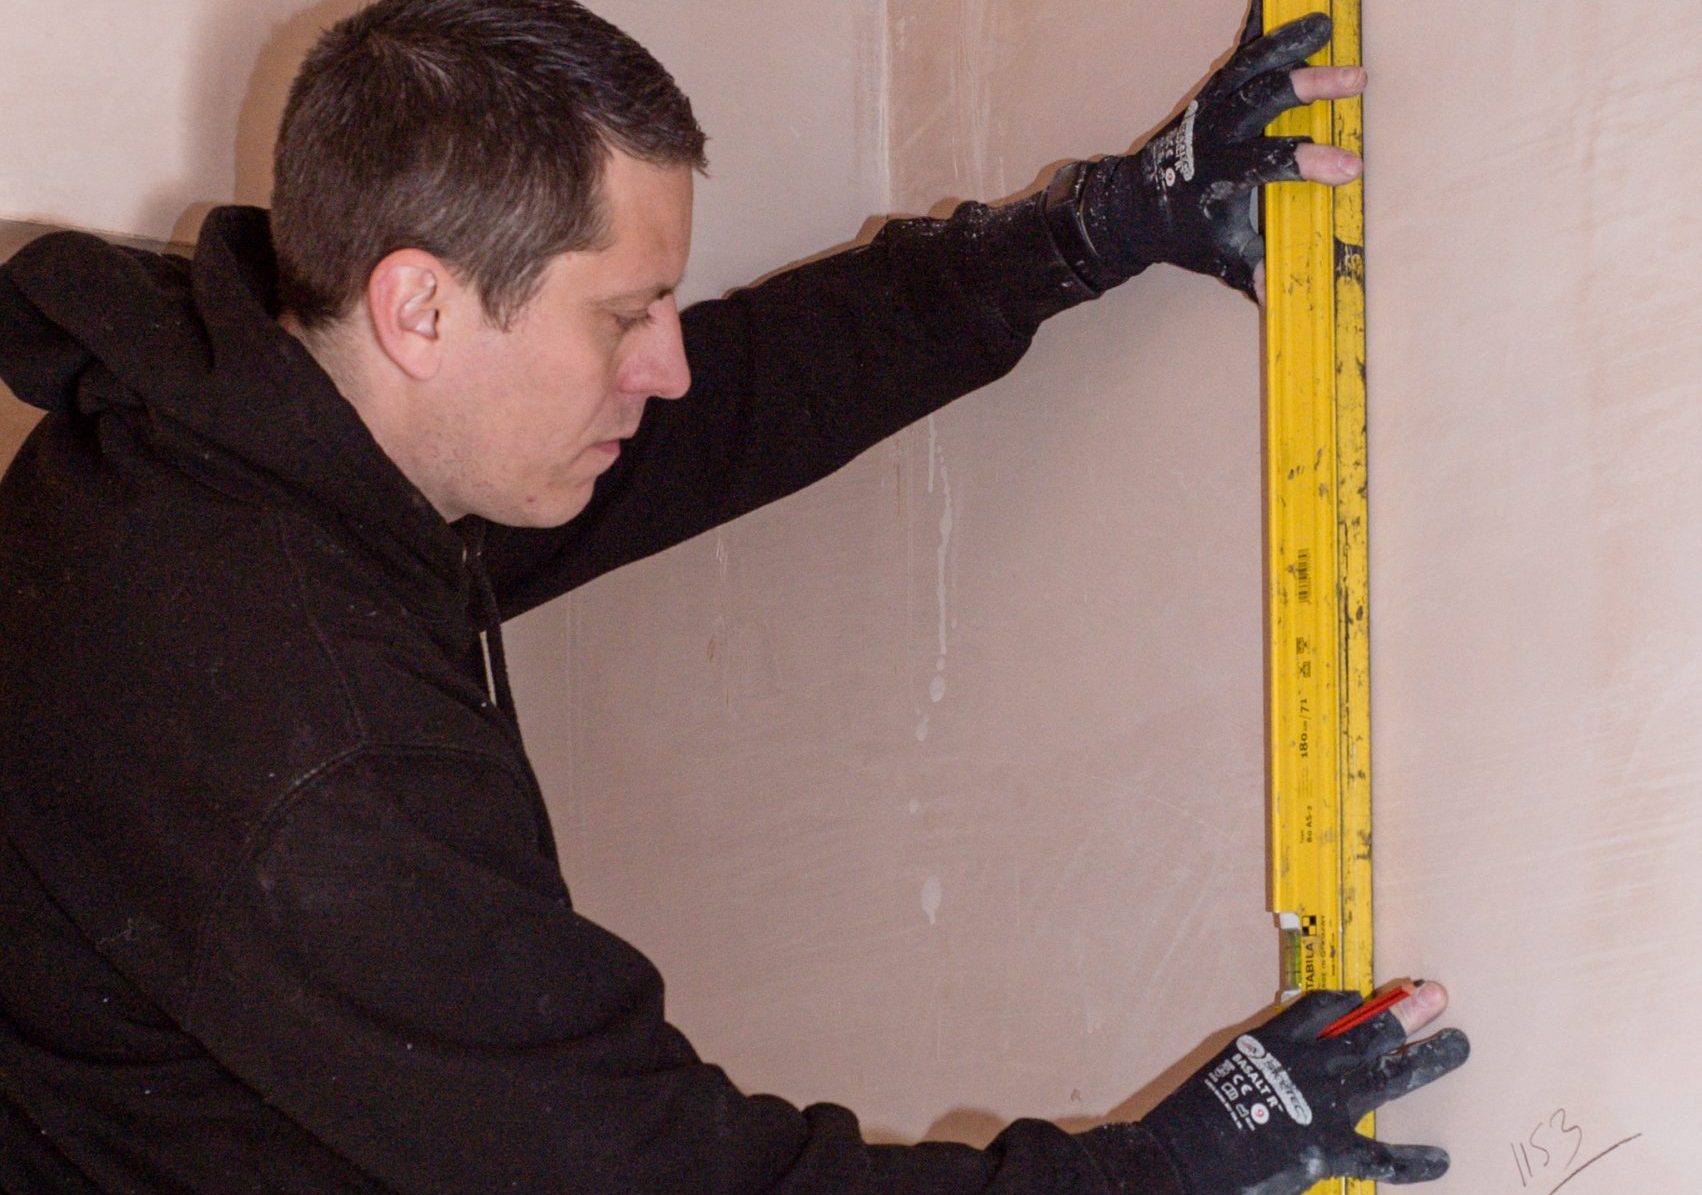
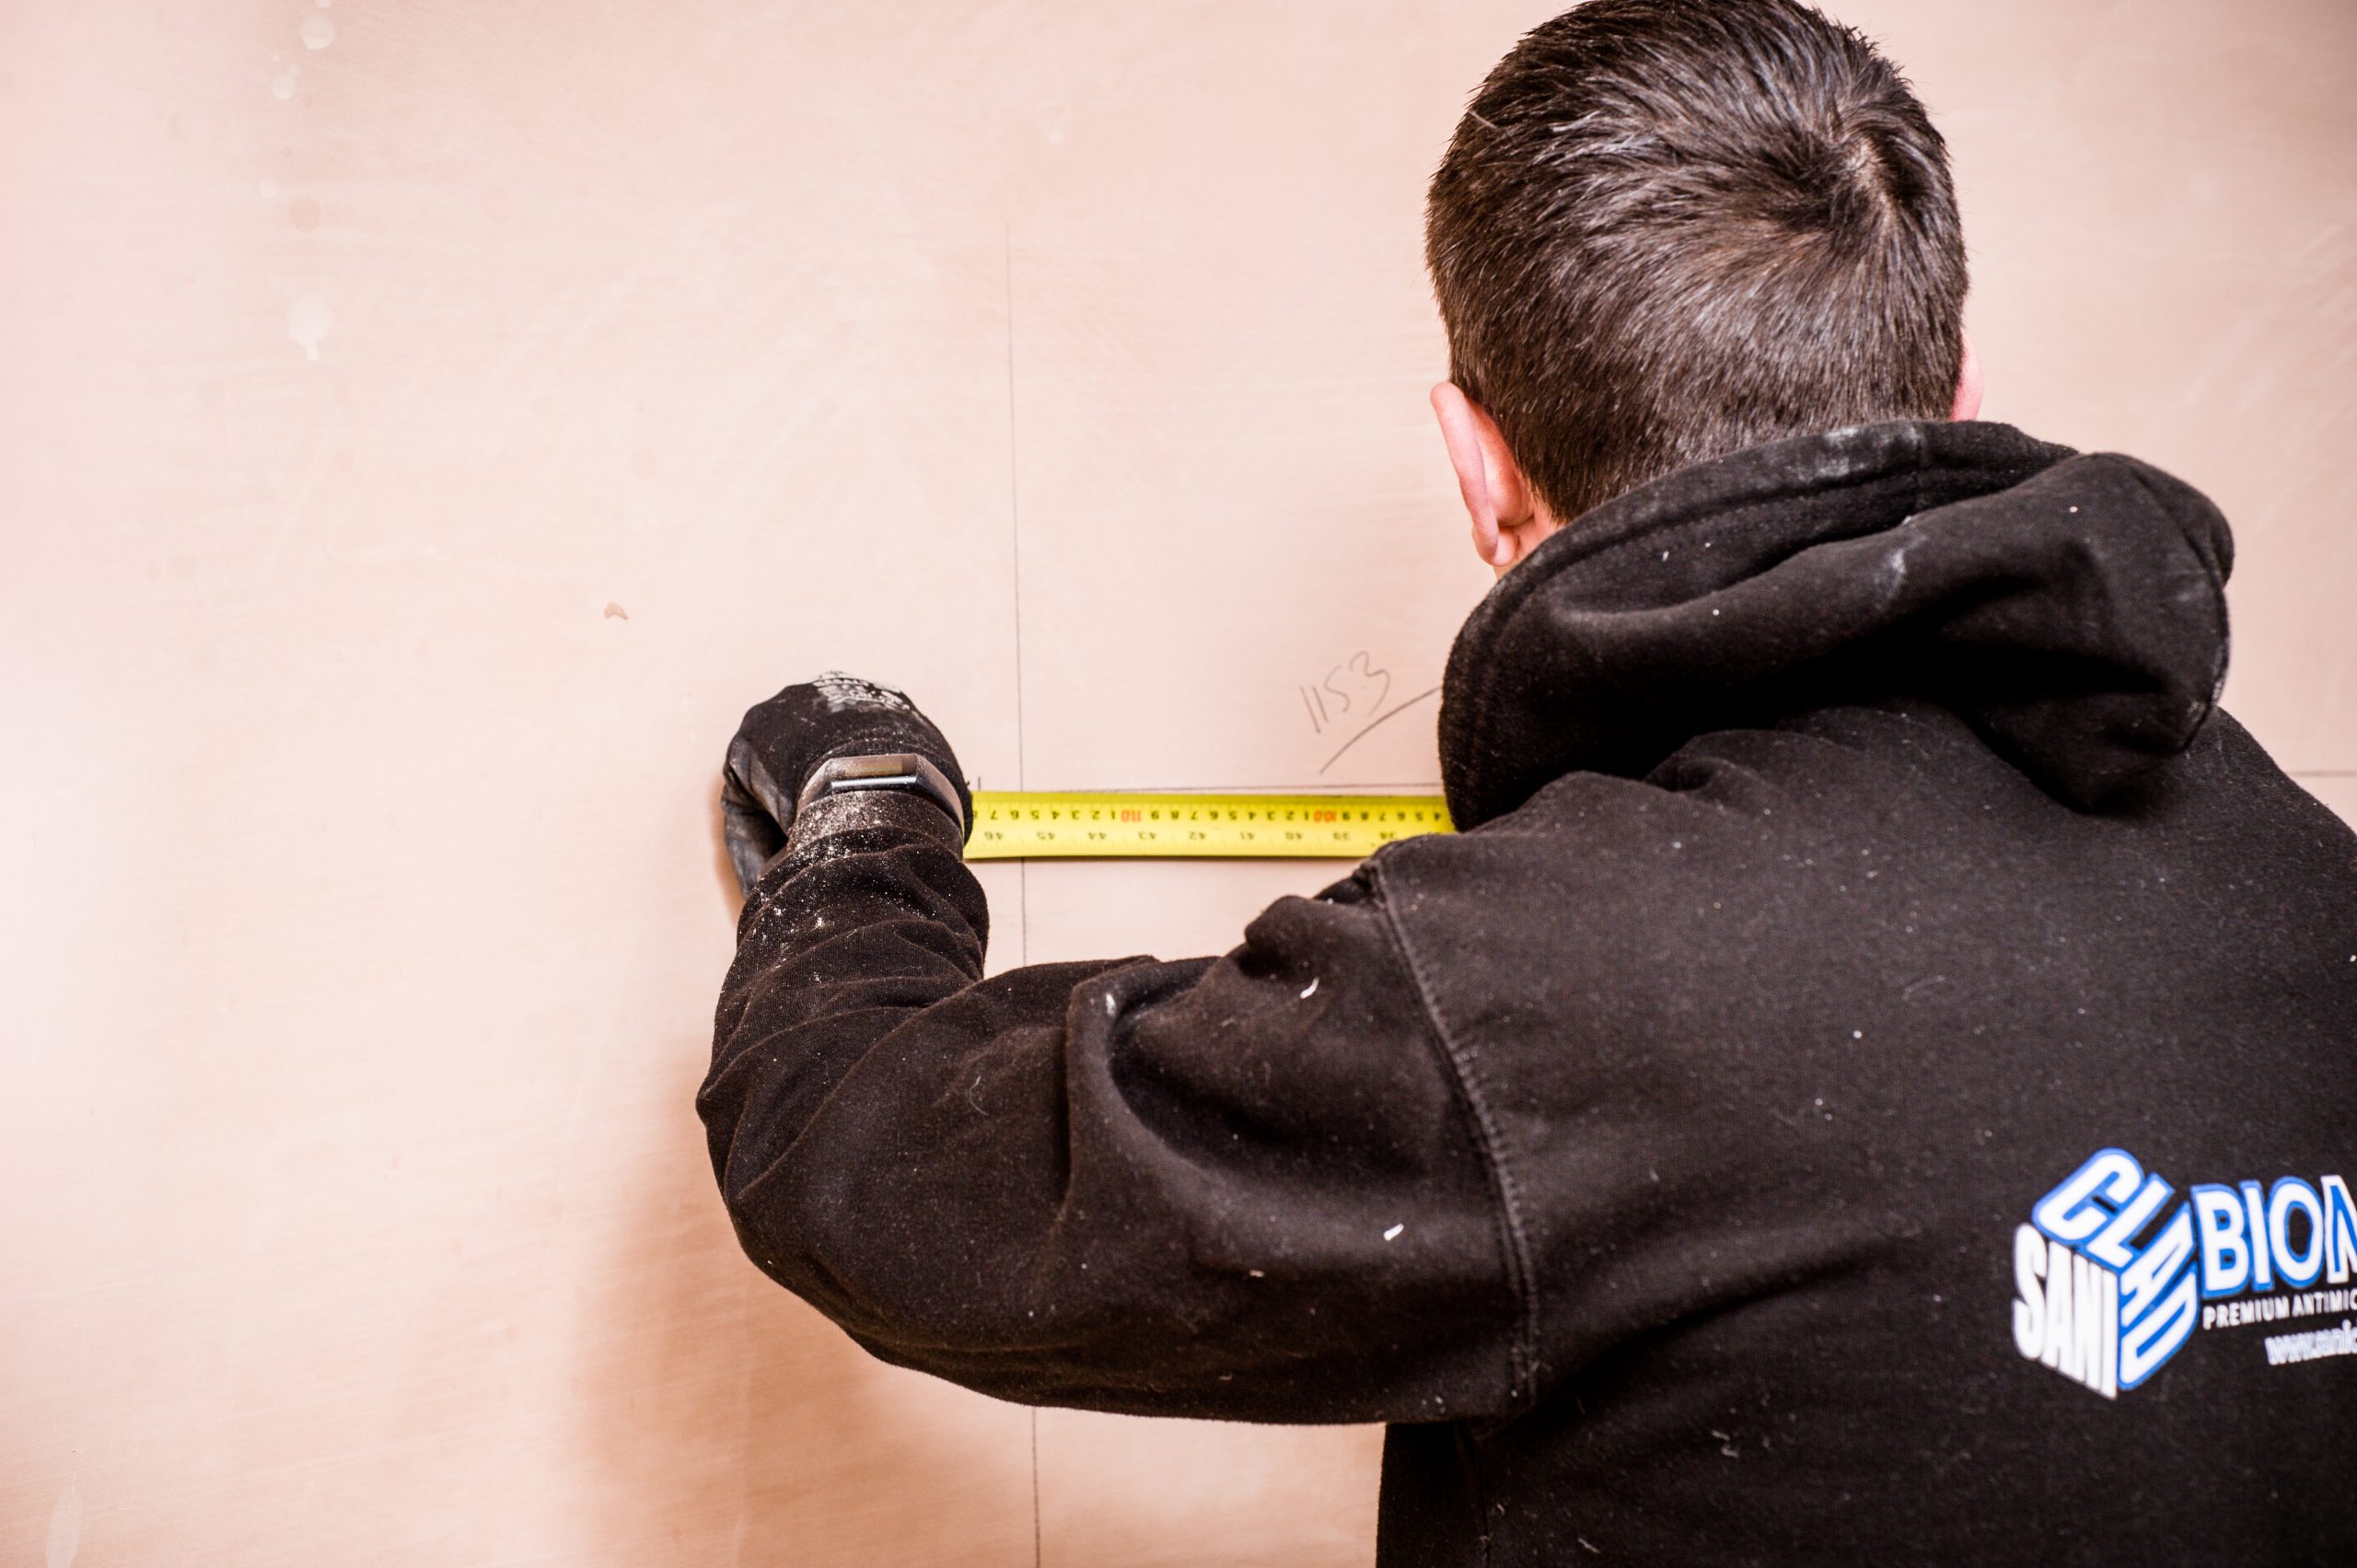
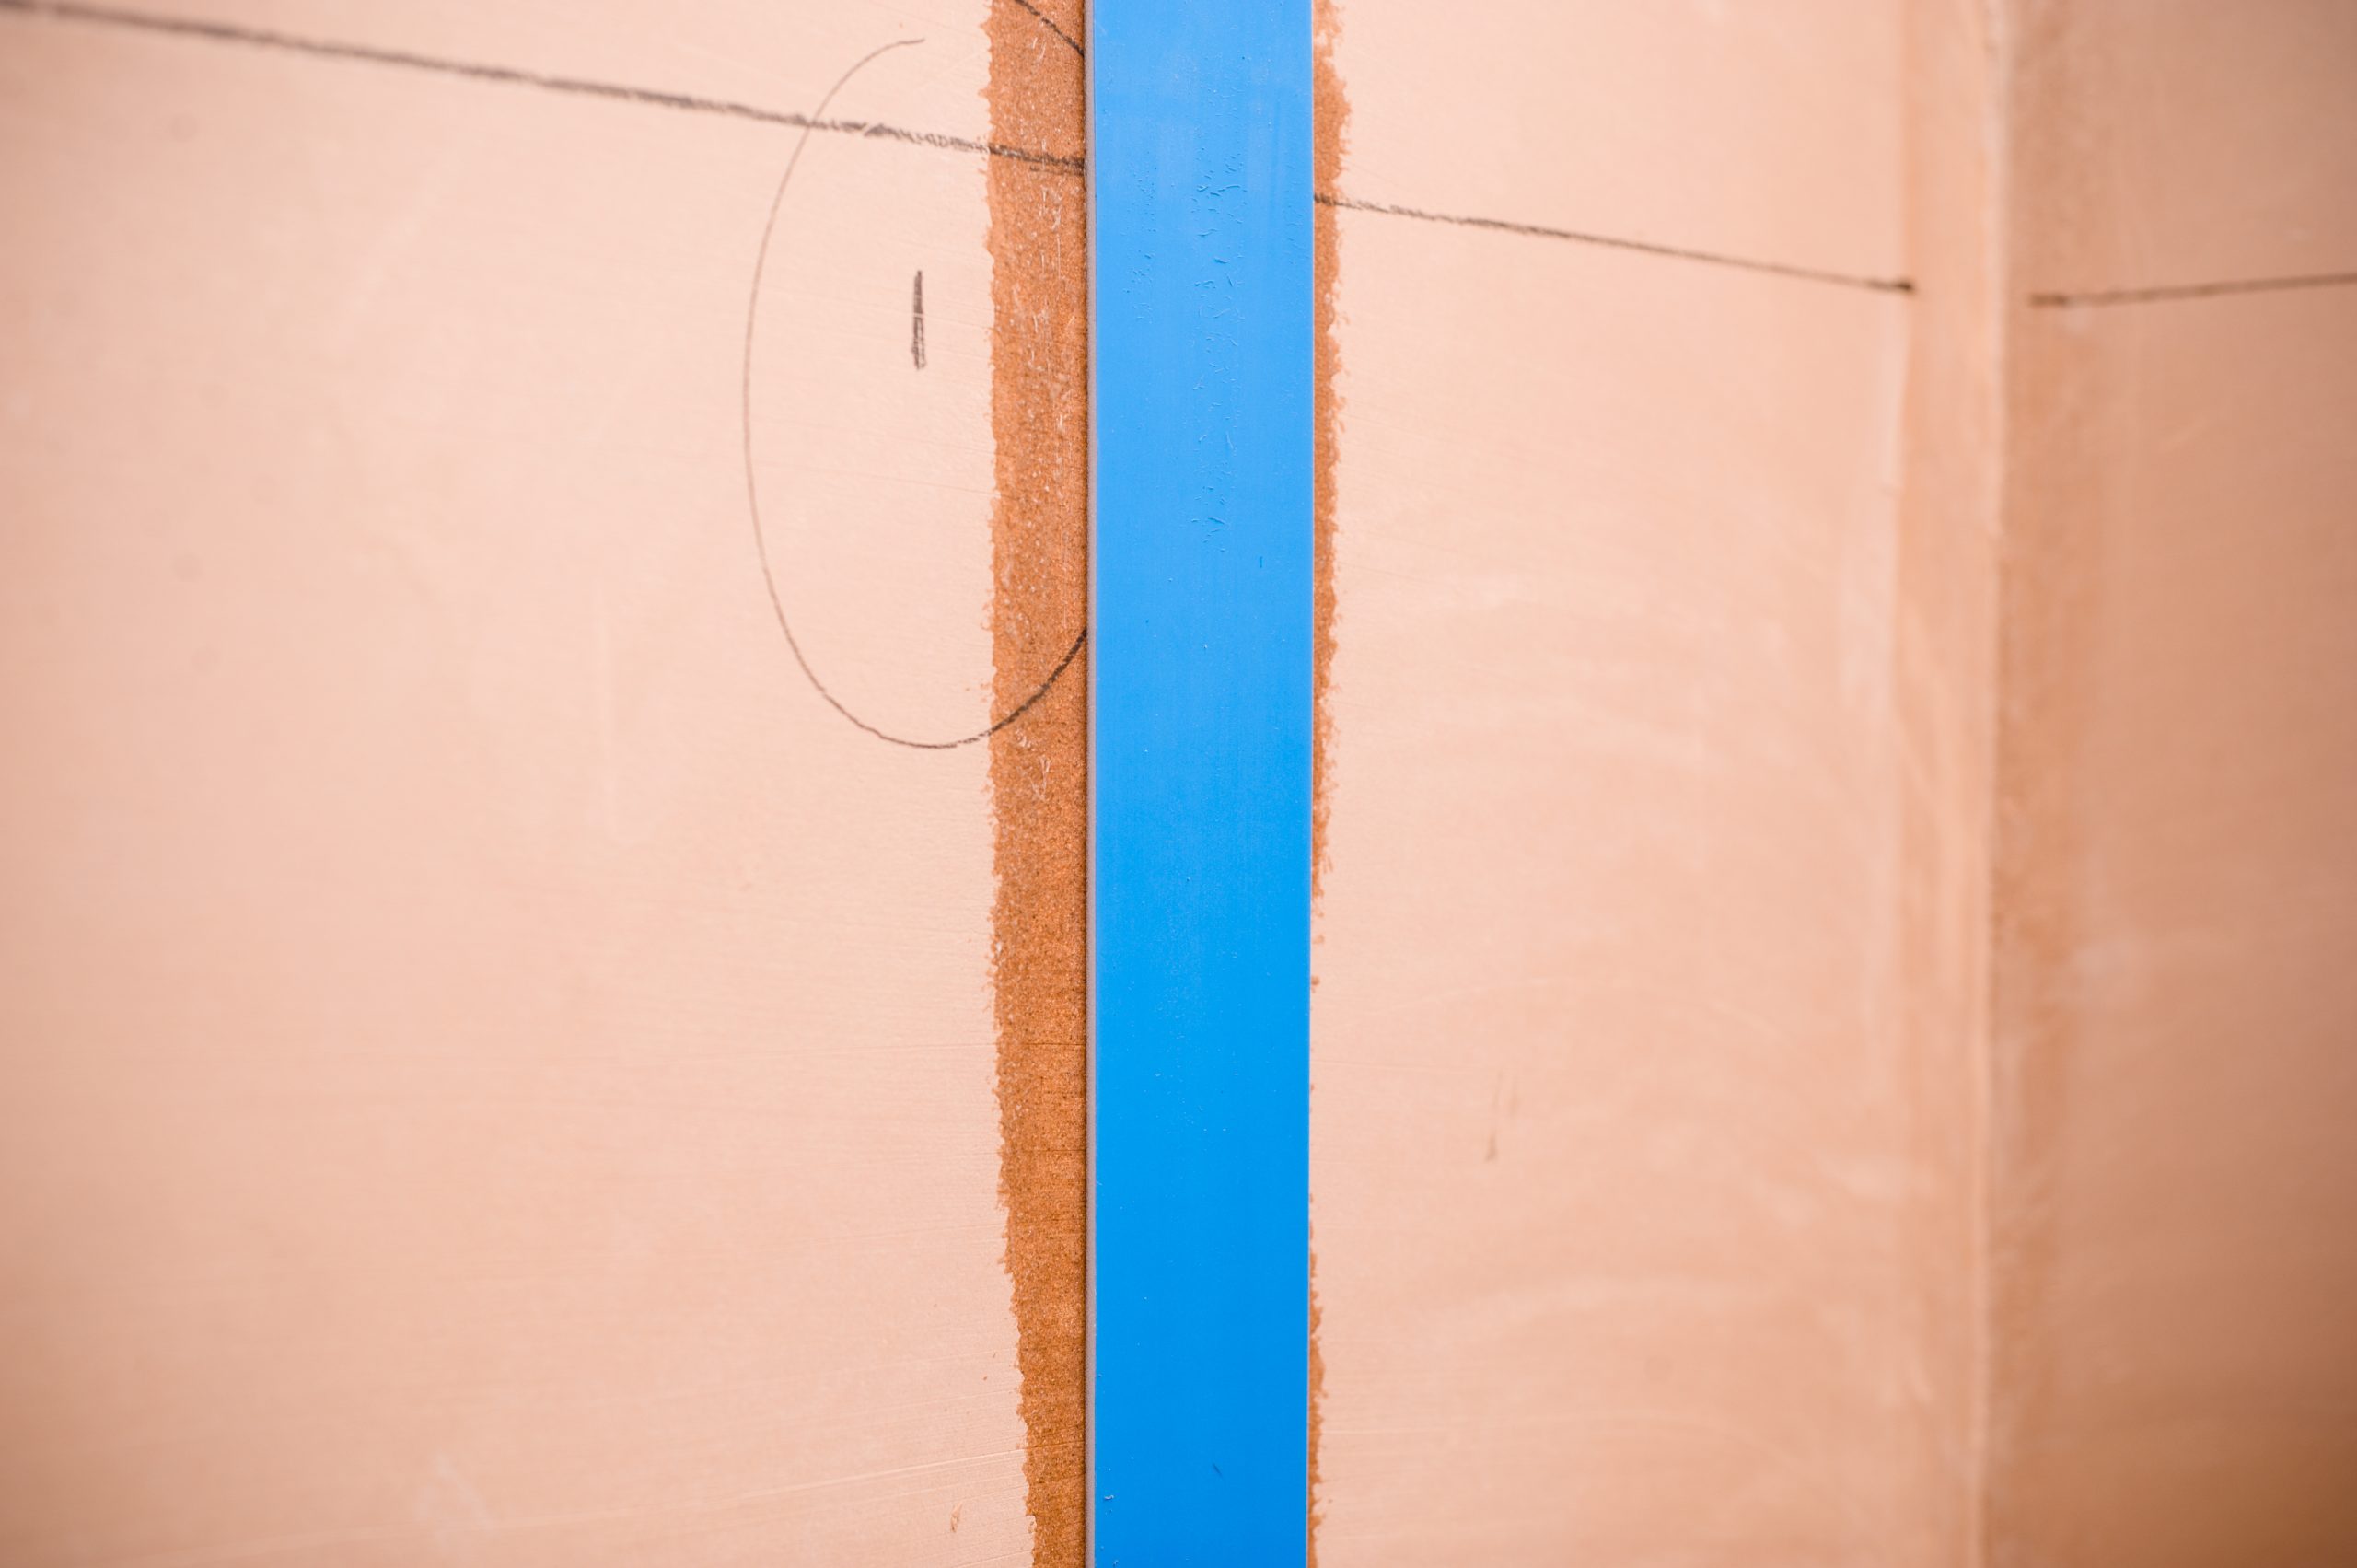
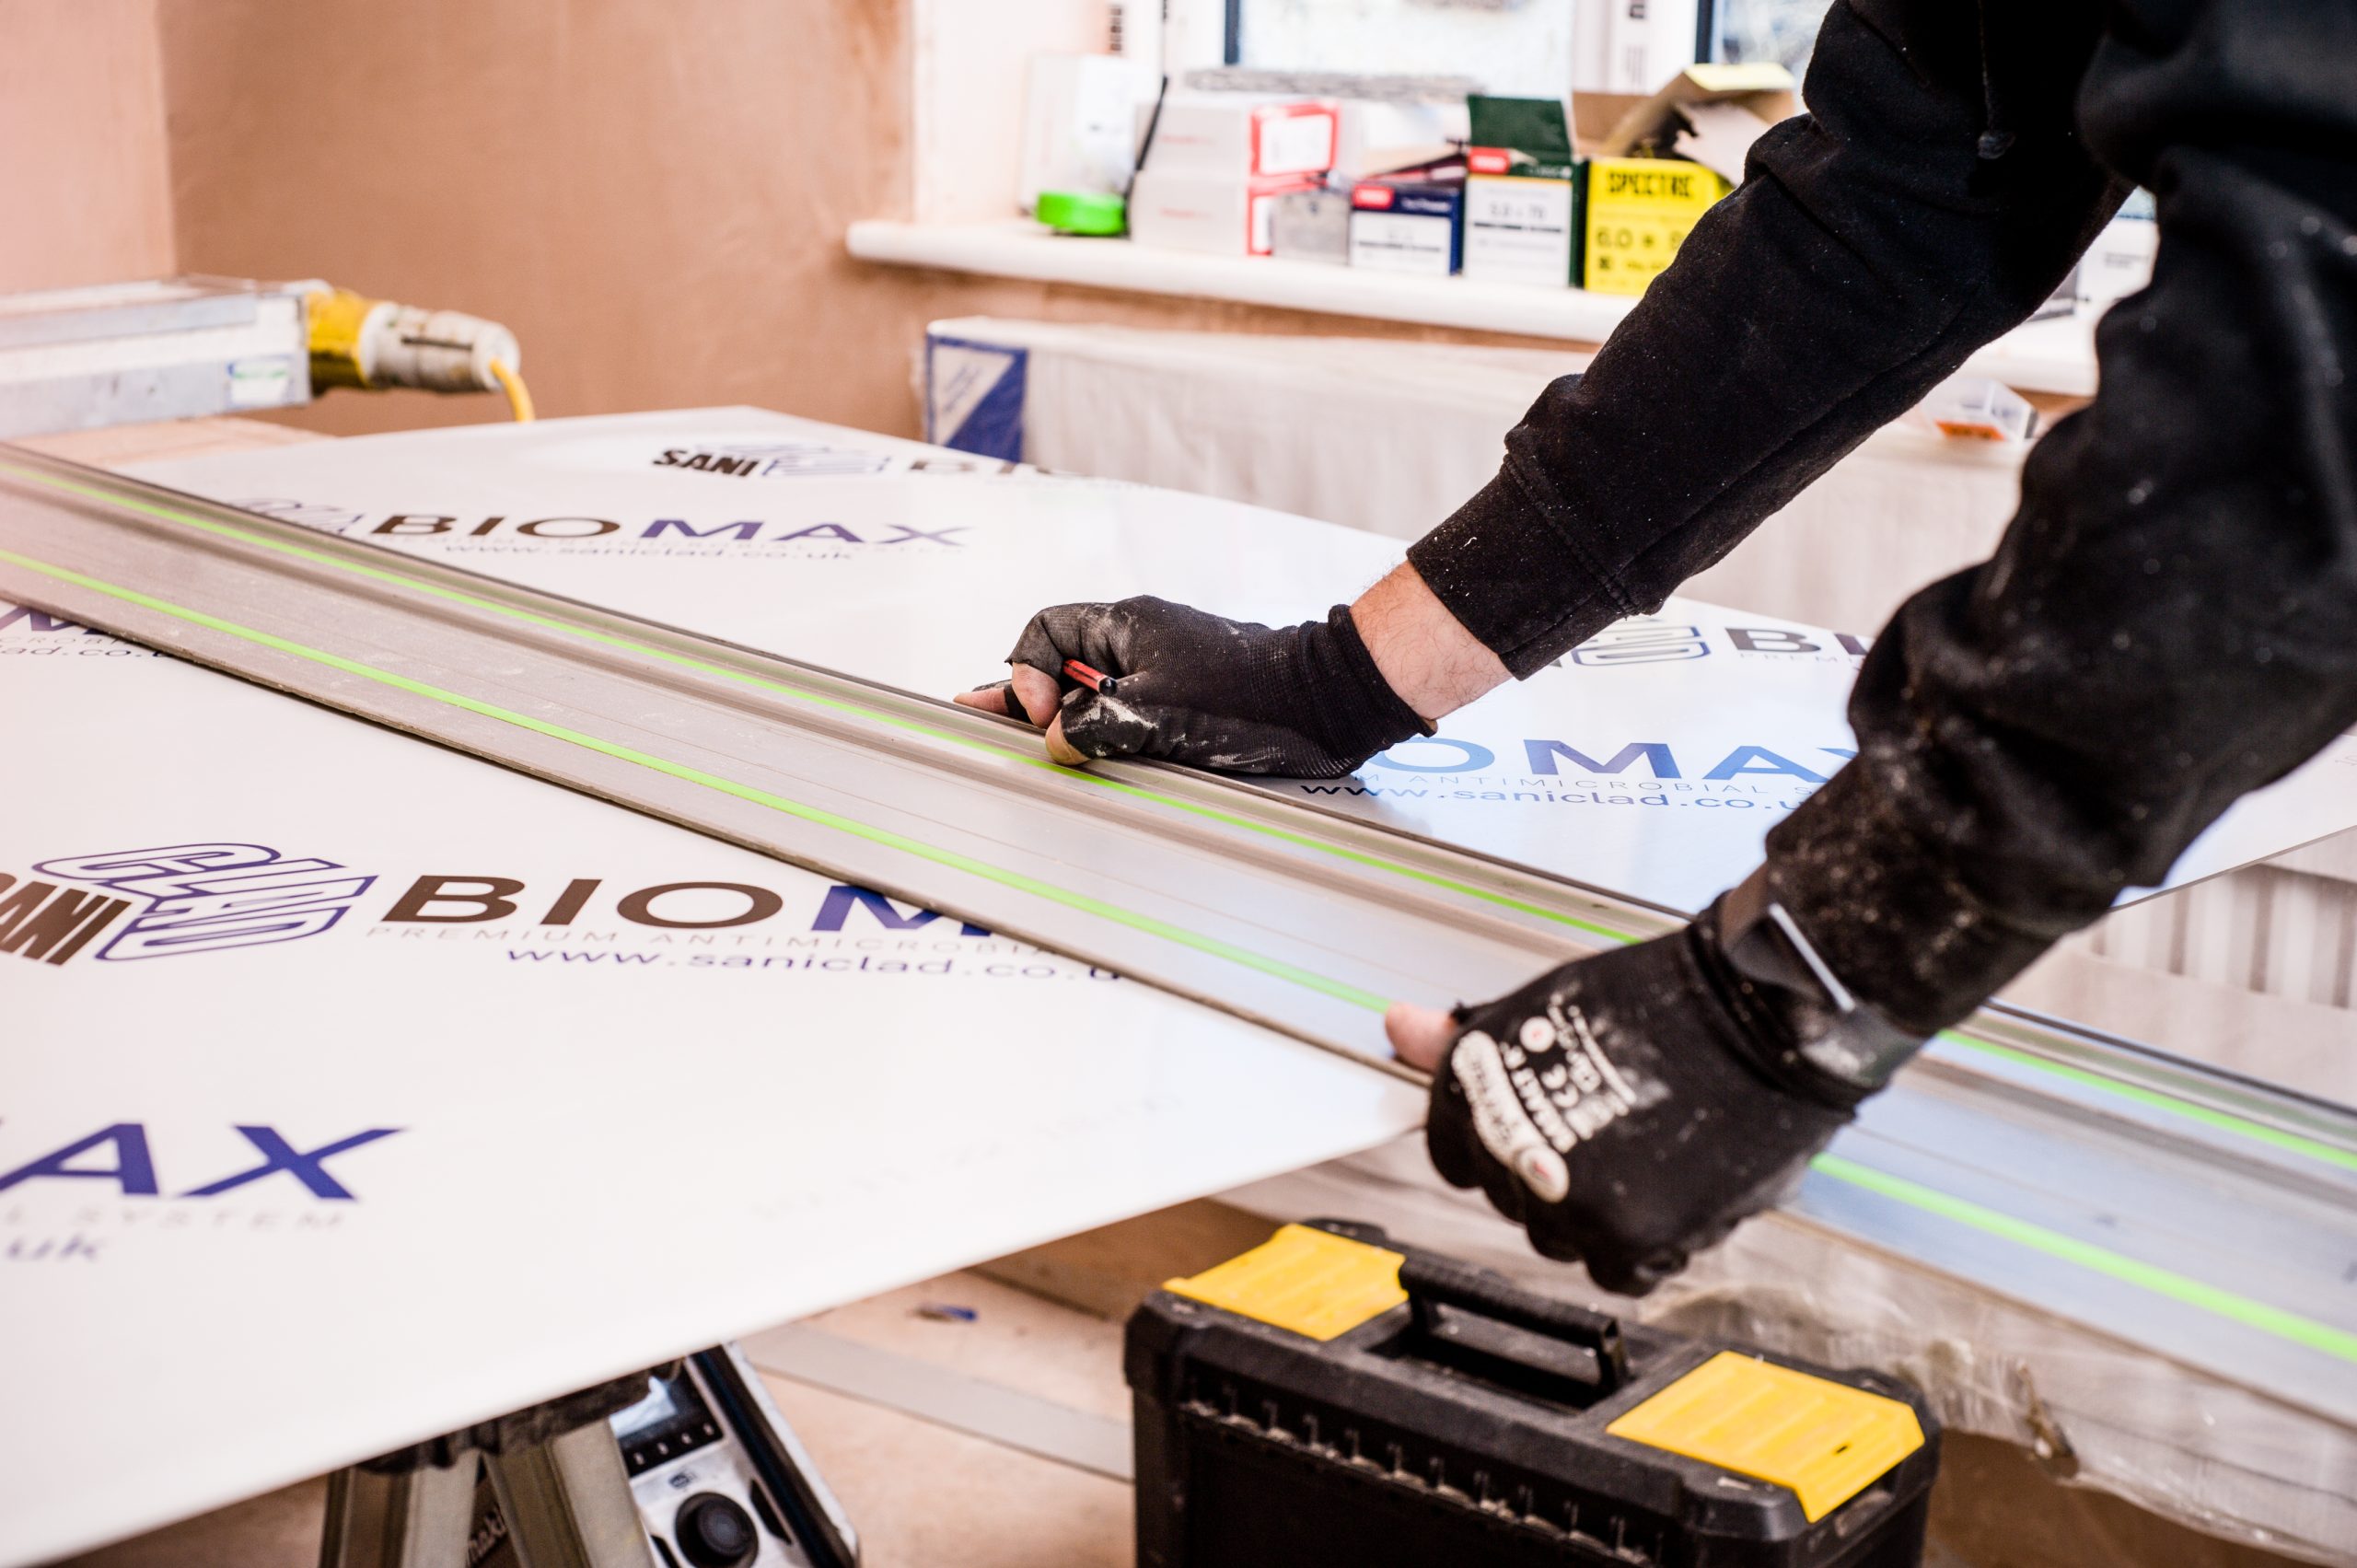
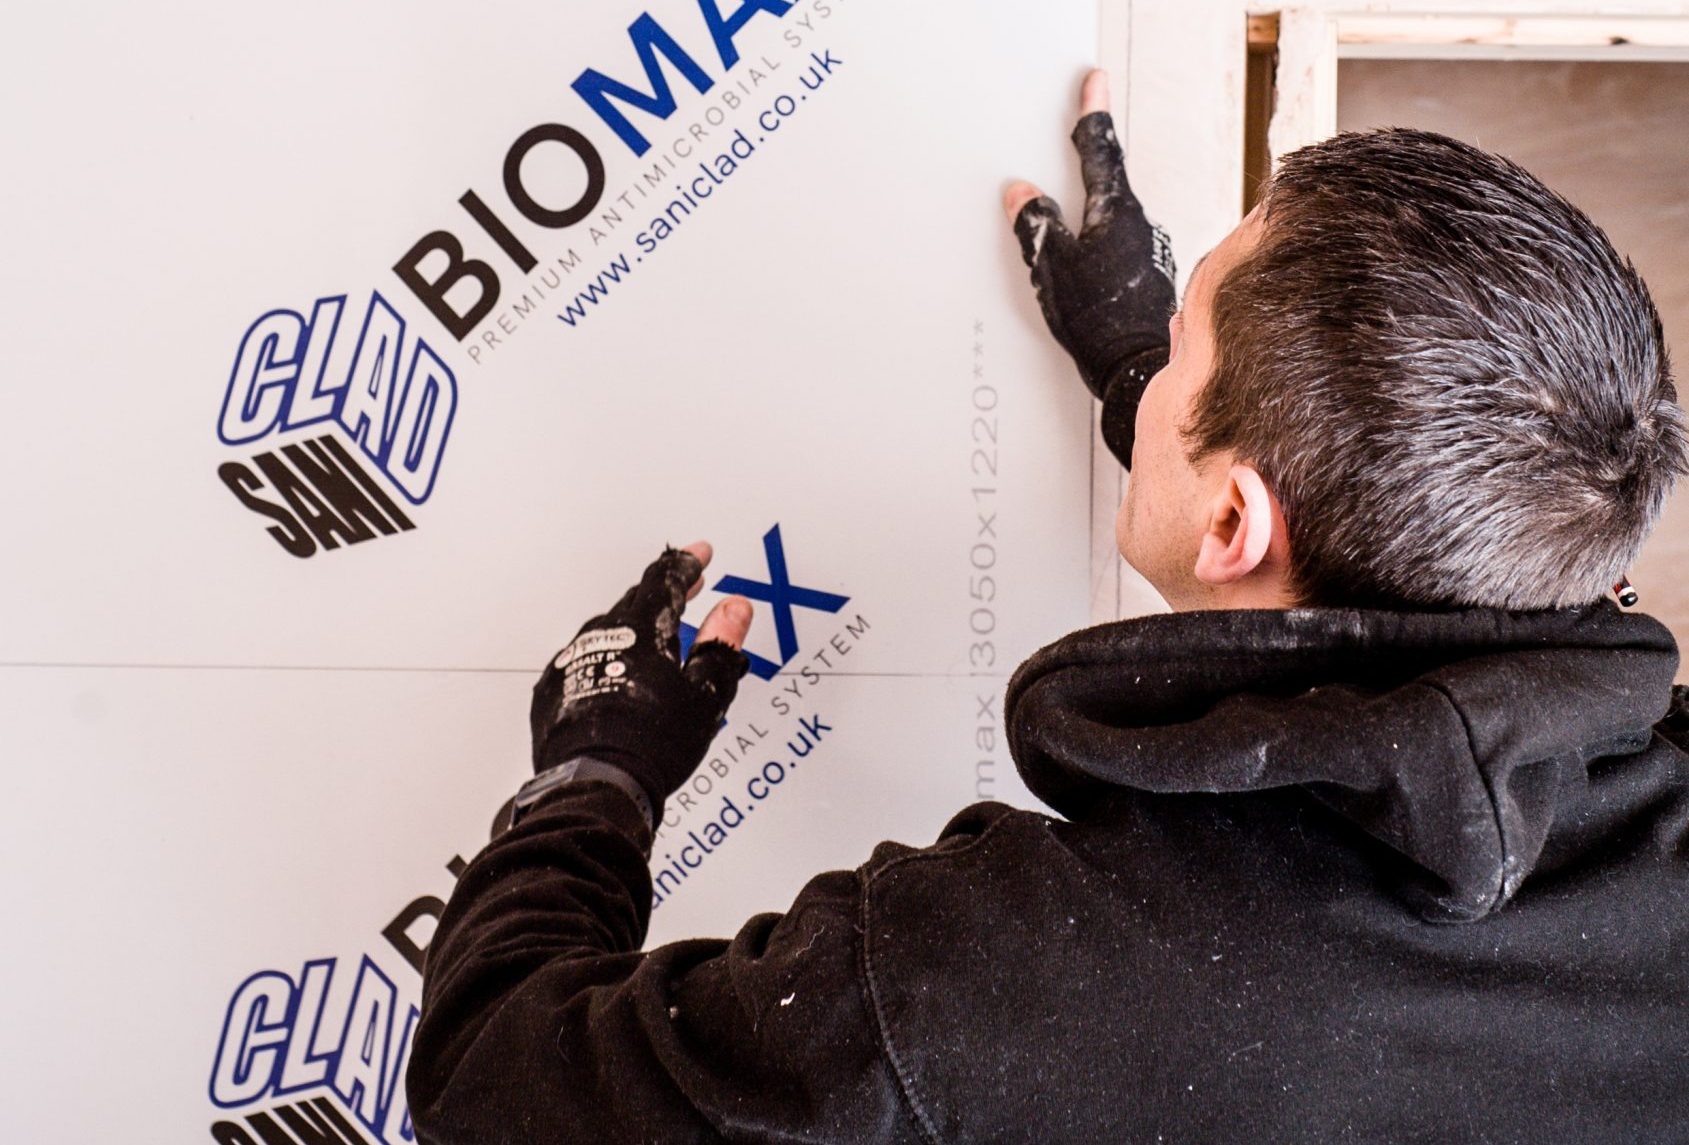
Always start installation at a corner with the bottom profile: J-Connector or Floor Wall Cover. The first panel should be laid and set precisely along a vertical line so draw a vertical line. Where several panels are used on a high wall, both vertical and horizontal lines should be used therefore assuring alignment.
Install one-piece corner profile then apply silicone sealant in profile. Slide panel into profile and then withdraw 3mm. This will provide the appropriate gap as recommended. Align with plumb line. If installing with adhesive, begin in top corner nearest profile and with laminate roller begin rolling down and out towards the edge without the profile.Working your way across the panel, continue rolling down and out, away from the previously installed pvc wall cladding or initial profile therefore removing all trapped air.
Install fastener as each panel is being put into place and before right hand profile is put on. This will help work out any air pockets and consequently help install a flat installation.
THE 8 STEP EXPERT GUIDE TO DIY INSTALLATION OF HYGIENIC WALL CLADDING
THE 8 STEP EXPERT GUIDE TO DIY INSTALLATION OF HYGIENIC WALL CLADDING
Step 1
Step 1
WALL
PREPARATION
WALL
PREPARATION
Before fitting wall cladding ensure the wall substrate is dry and free from any dirt, dust and grease. Walls should be flat and even so flatten high spots and fill in low spots.
Remove wallpaper, soluble or loose paint and other foreign matter so you can achieve a good adhesive bond.
Before fitting wall cladding ensure the wall substrate is dry and free from any dirt, dust and grease. Walls should be flat and even so flatten high spots and fill in low spots.
Remove wallpaper, soluble or loose paint and other foreign matter so you can achieve a good adhesive bond.
Step 2
Step 2
CONCRETE
BLOCK & BRICK
CONCRETE
BLOCK & BRICK
Level uneven surfaces with plaster or concrete compounds. Use adhesive, however be advised adhesive cannot be expected to adhere 100%.
Level uneven surfaces with plaster or concrete compounds. Use adhesive, however be advised adhesive cannot be expected to adhere 100%.
Step 3
Step 3
SPECIAL WALL
CONDITIONS AND HIGH
HUMIDITY ROOMS
SPECIAL WALL
CONDITIONS AND HIGH
HUMIDITY ROOMS
Be sure concrete walls are well cured and completely dry. If concrete or brick walls are below grade or where moisture can penetrate and interfere with a good adhesive bond, use furring strips and install with mechanical fasteners.
Be sure concrete walls are well cured and completely dry. If concrete or brick walls are below grade or where moisture can penetrate and interfere with a good adhesive bond, use furring strips and install with mechanical fasteners.
Step 4
Step 4
PAINTED
SURFACES
PAINTED
SURFACES
All loose paint must be removed before applying the adhesive. Adhesive will bond only to the paint, so make sure that paint is well adhered to wall.
It may be necessary to use fasteners as well as adhesive to provide adequate bond strength.
All loose paint must be removed before applying the adhesive. Adhesive will bond only to the paint, so make sure that paint is well adhered to wall.
It may be necessary to use fasteners as well as adhesive to provide adequate bond strength.
Step 5
Step 5
UNEVEN
SURFACES
UNEVEN
SURFACES
PVC Wall Panelling Installation over uneven surfaces will result in less than 100% adhesion to the wall substrate, therefore creating the potential for air pockets to form behind the panels.
This will not compromise the Sani Clad wall panelling as long as the recommended spacing and sealing procedures have been followed.
Step 6
Step 6
HIGH/LOW
TEMPERATURE
CONDITIONS
HIGH/LOW
TEMPERATURE
CONDITIONS
Follow guidelines for expansion/contraction allowance carefully also making sure adhesive is recommended for use under these conditions. Carefully follow adhesive manufacturers Installation recommendations.
Follow guidelines for expansion/contraction allowance carefully also making sure adhesive is recommended for use under these conditions. Carefully follow adhesive manufacturers Installation recommendations.
Step 7
Step 7
APPLYING
ADHESIVE
APPLYING
ADHESIVE
Follow all the adhesive manufacturer’s recommendations for appropriate height of adhesive bead left by trowel as the biggest problem encountered with adhesives installations is too much or too little adhesive. Make sure adhesive extends to all edges of the panel so the maximum bonding surface area is achieved.
Follow all the adhesive manufacturer’s recommendations for appropriate height of adhesive bead left by trowel as the biggest problem encountered with adhesives installations is too much or too little adhesive. Make sure adhesive extends to all edges of the panel so the maximum bonding surface area is achieved.
Step 8
Step 8
FITTING WALL
PANELS
FITTING WALL
PANELS
Always start installation at a corner with the bottom profile: J-Connector or Floor Wall Cover. The first panel should be laid and set precisely along a vertical line so draw a vertical line. Where several panels are used on a high wall, both vertical and horizontal lines should be used therefore assuring alignment. Install one-piece corner profile then apply silicone sealant in profile. Slide panel into profile and then withdraw 3mm. This will provide the appropriate gap as recommended. Align with plumb line. If installing with adhesive, begin in top corner nearest profile and with laminate roller begin rolling down and out towards the edge without the profile.
Working your way across the panel, continue rolling down and out, away from the previously installed pvc wall cladding or initial profile therefore removing all trapped air. Install fastener as each panel is being put into place and before right hand profile is put on. This will help work out any air pockets and consequently help install a flat installation.
CONTACT
SANICLAD
TODAY!
CONTACT
SANICLAD
TODAY!
For more information on the supply & installation of PVC sheets, hygienic wall and ceiling cladding systems contact our team today.
We are open 5 days a week, from 8.00am until 5:00pm, Monday through to Friday.
Phone Number: 0151 556 2800
SANICLAD’S
TOP SELLERS


